6. Confirm - Instance
6.1. Create Instance
Select “Instance” for the Menue
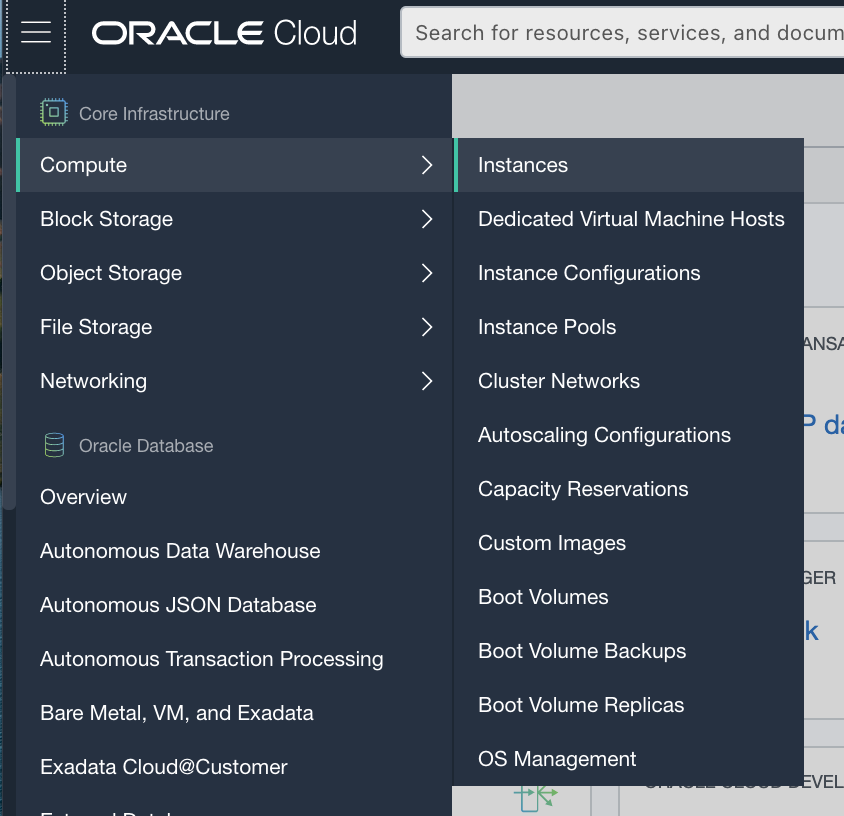
Select “Compartment Name(Ex: RequestorComp)
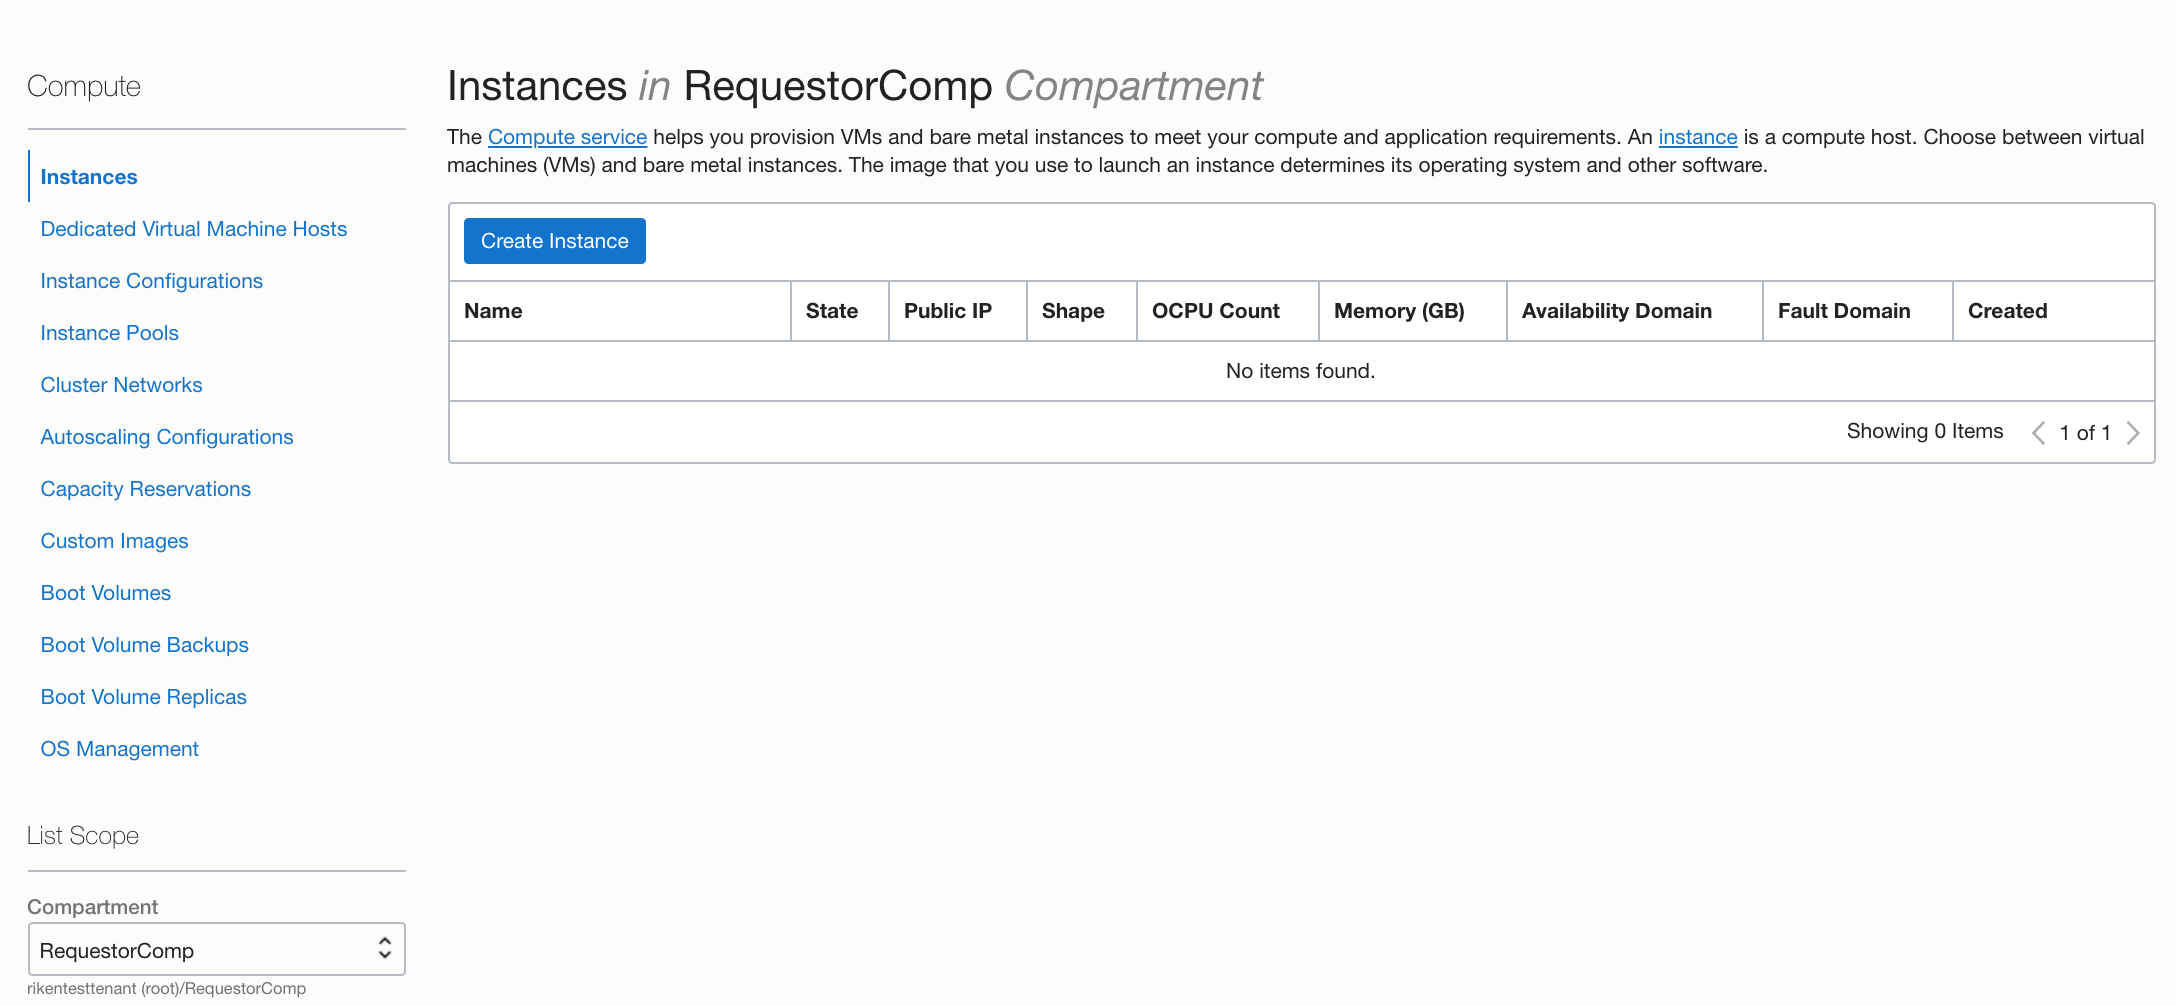
Select “Create Instance”
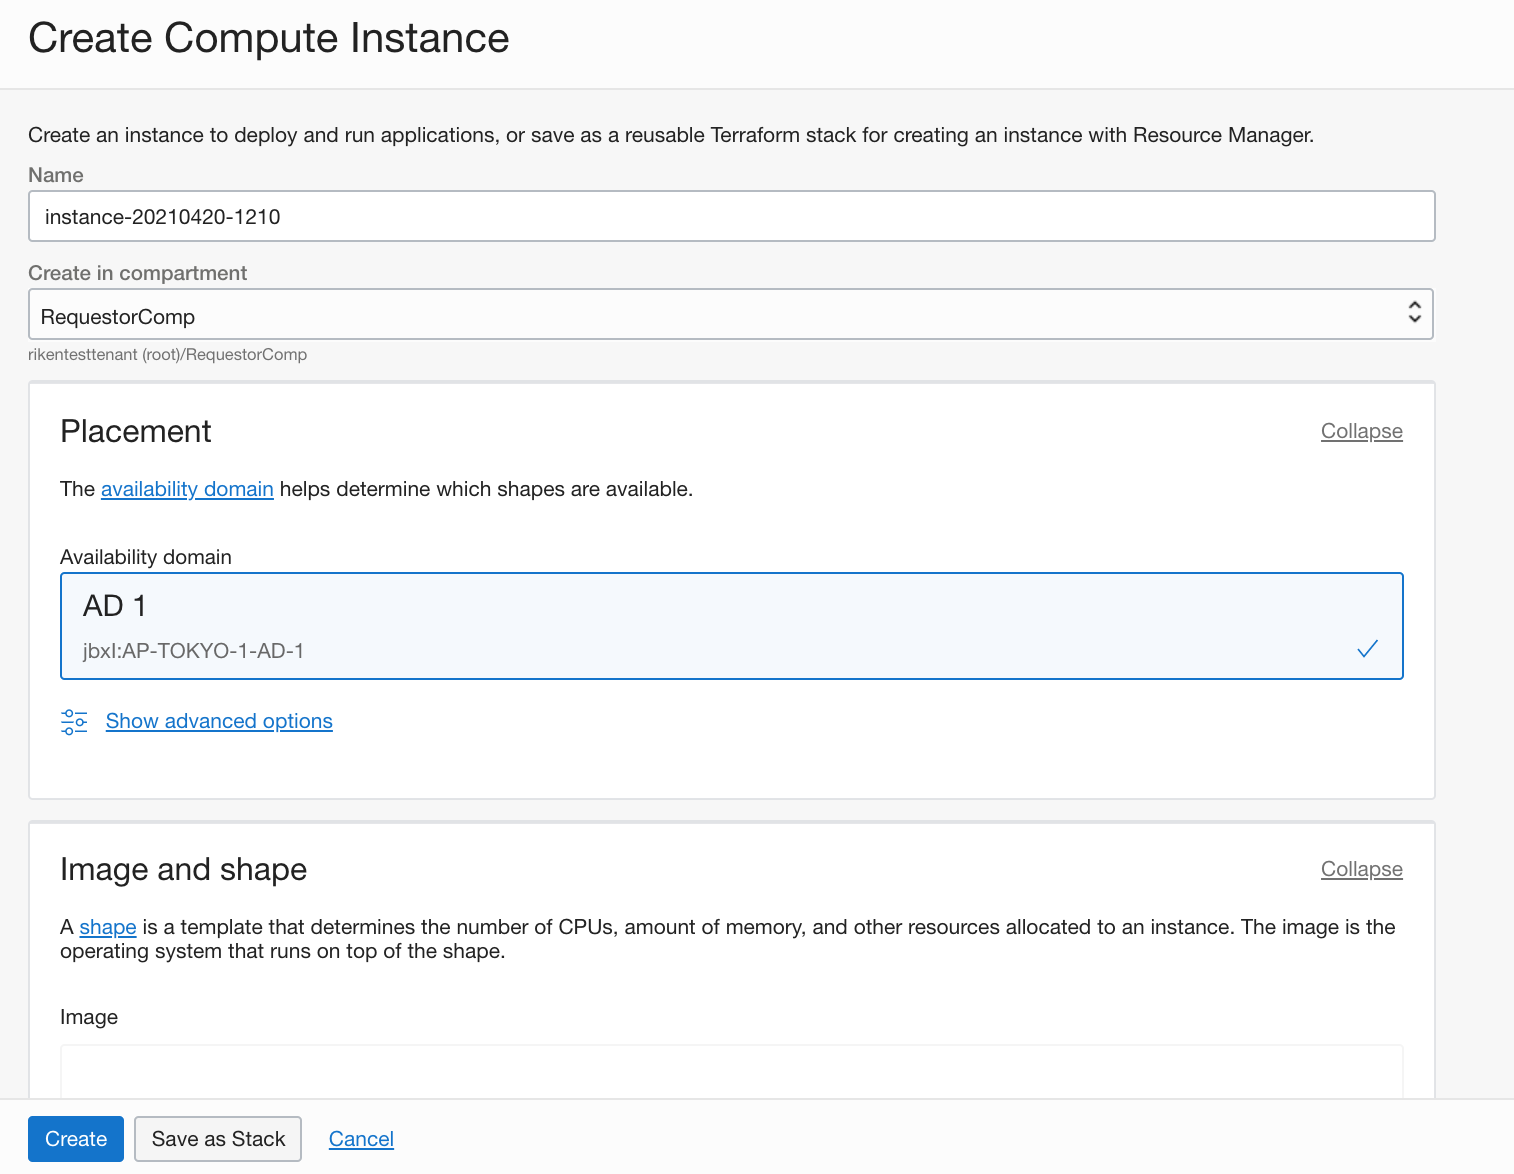
Wait for the completion of the provisioning and confirm that the Private IP address is set
6.2. Access check of Instance
Login for Fugaku Login Node
SSH Login for Instance
$ ssh 172.30.XX.XX
6.3. Create and check access to instants using OCI commands
Login for Fugaku Login Node or R-CCS Login Node
Fugaku Login nodes * login.fugaku.r-ccs.riken.jp
login1.fugaku.riken.jp
login2.fugaku.riken.jp
login3.fugaku.riken.jp
login4.fugaku.riken.jp
login5.fugaku.riken.jp
login6.fugaku.riken.jp
csgw.fugaku.r-ccs.riken.jp * csgw1.fugaku.riken.jp * csgw2.fugaku.riken.jp
$ ssh csgw.fugaku.r-ccs.riken.jp
hpciss04.r-ccs.riken.jp (General Login Node)
hpciss05.r-ccs.riken.jp (General Login Node)
hpciss06.r-ccs.riken.jp (General Login Node)
das.r-ccs.riken.jp (Gfarm clients with large memory and GPGPU)
Compute Node * das01.r-ccs.riken.jp * das02.r-ccs.riken.jp * das03.r-ccs.riken.jp * das04.r-ccs.riken.jp * hpciss02.r-ccs.riken.jp * hpciss03.r-ccs.riken.jp
Install OCI Command
$ bash -c "$(curl -L https://raw.githubusercontent.com/oracle/oci-cli/master/scripts/install/install.sh)"
% Total    % Received % Xferd  Average Speed   Time    Time     Time  Current
                               Dload  Upload   Total   Spent    Left  Speed
100 17208  100 17208    0     0   102k      0 --:--:-- --:--:-- --:--:--  103k
******************************************************************************
You have started the OCI CLI Installer in interactive mode. If you do not wish
to run this in interactive mode, please include the --accept-all-defaults option.
If you have the script locally and would like to know more about
input options for this script, then you can run:
./install.sh -h
If you would like to know more about input options for this script, refer to:
https://github.com/oracle/oci-cli/blob/master/scripts/install/README.rst
******************************************************************************
Downloading Oracle Cloud Infrastructure CLI install script from https://raw.githubusercontent.com/oracle/oci-cli/v2.14.4/scripts/install/install.py to /tmp/oci_cli_install_tmp_B5uW.
######################################################################## 100.0%
<snip>
-- ** Run `exec -l $SHELL` to restart your shell. **
--
-- Installation successful.
-- Run the CLI with /home/<user>/bin/oci --help
$
$ exec -l $SHELL
$
Configuration OCI Command
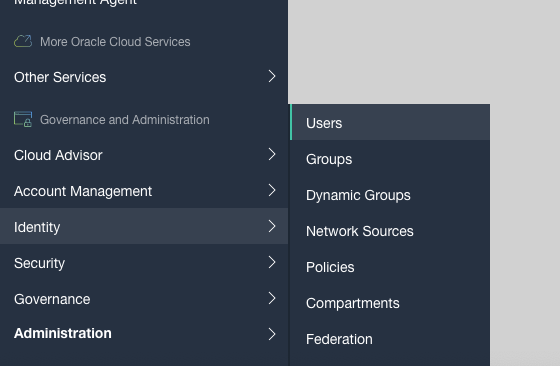
$ oci setup config
Enter a location for your config [/home/<user>/.oci/config]:
   - Specify the path to the config file. If you do not enter anything, ~/.oci/config will be created.

Enter a user OCID: ocid1.user.oc1....
   - Please enter the OCID of your own OCI user account, you will need to obtain this by logging into the WebUI.

Enter a tenancy OCID: ocid1.tenancy.oc1..aaaaaaaalycfhttkn5rxeu44yxkrmmhwfsj3siqyxjvld336inu5grvy7kka
   - Please provide the OCID of your tenant, you will need to obtain this by logging into the WebUI.

Enter a region by index or name(e.g.
1: ap-chiyoda-1, 2: ap-chuncheon-1, 3: ap-hyderabad-1, 4: ap-melbourne-1, 5: ap-mumbai-1,
6: ap-osaka-1, 7: ap-seoul-1, 8: ap-sydney-1, 9: ap-tokyo-1, 10: ca-montreal-1,
<snip>
26: us-gov-phoenix-1, 27: us-langley-1, 28: us-luke-1, 29: us-phoenix-1, 30: us-sanjose-1): 9
   - Specify the region; if you are using FastConnect, specify the Tokyo region (ap-tokyo-1).

Do you want to generate a new API Signing RSA key pair? (If you decline you will be asked to supply the path to an existing key.) [Y/n]: Y
   - Automatically generate an RSA key for tenant access. In this case we have specified "Y" to create it.

Enter a directory for your keys to be created [/home/<user>/.oci]:
   - Enter a directory for your keys to be created[/home/<user>/.oci]


Enter a name for your key [oci_api_key]:
   - Enter the directory path where you want to store your RSA keys. If you do not enter anything, ~/.oci/config will be selected.

Public key written to: /home/<user>/.oci/oci_api_key_public.pem
   - Enter the name of your RSA key. In this example, the default (no entry) is oci_api_key.

Enter a passphrase for your private key (empty for no passphrase):
Repeat for confirmation:
   - Please enter the password for your RSA key.

Private key written to: /home/<user>/.oci/oci_api_key.pem
Fingerprint: a0:02:18:ad:5d:a5:67:40:b5:1a:a0:85:b0:b6:fd:60
Do you want to write your passphrase to the config file? (if not, you will need to supply it as an argument to the CLI) [y/N]: y
   - If you specify "y", the passphrase of the RSA key will be included in the configuration file.
     * Please note that the configuration file will contain the password in plain text.

Config written to /home/<user>/.oci/config
$ cat .oci/config
[DEFAULT]
user=ocid1.user.oc1..
fingerprint=a0:02:18:ad:XX:XX:XX:XX:XX:XX:XX:85:b0:b6:fd:60
key_file=/home/<user>/.oci/oci_api_key.pem
tenancy=ocid1.tenancy.oc1..
region=ap-tokyo-1
pass_phrase=<pass>
$ vim .oci/oci_cli_rc
[DEFAULT]
compartment-id=ocid1.compartment.oc1......
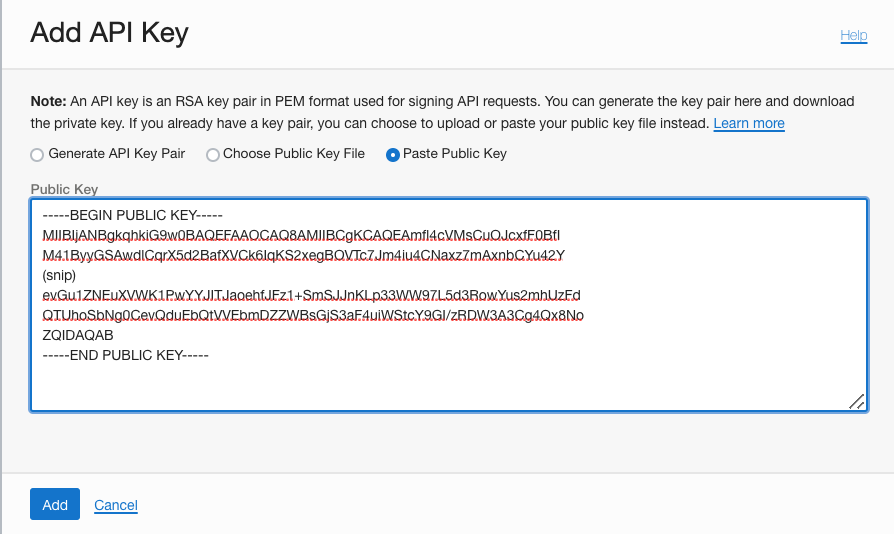
$ cat ~/.oci/oci_api_key_public.pem

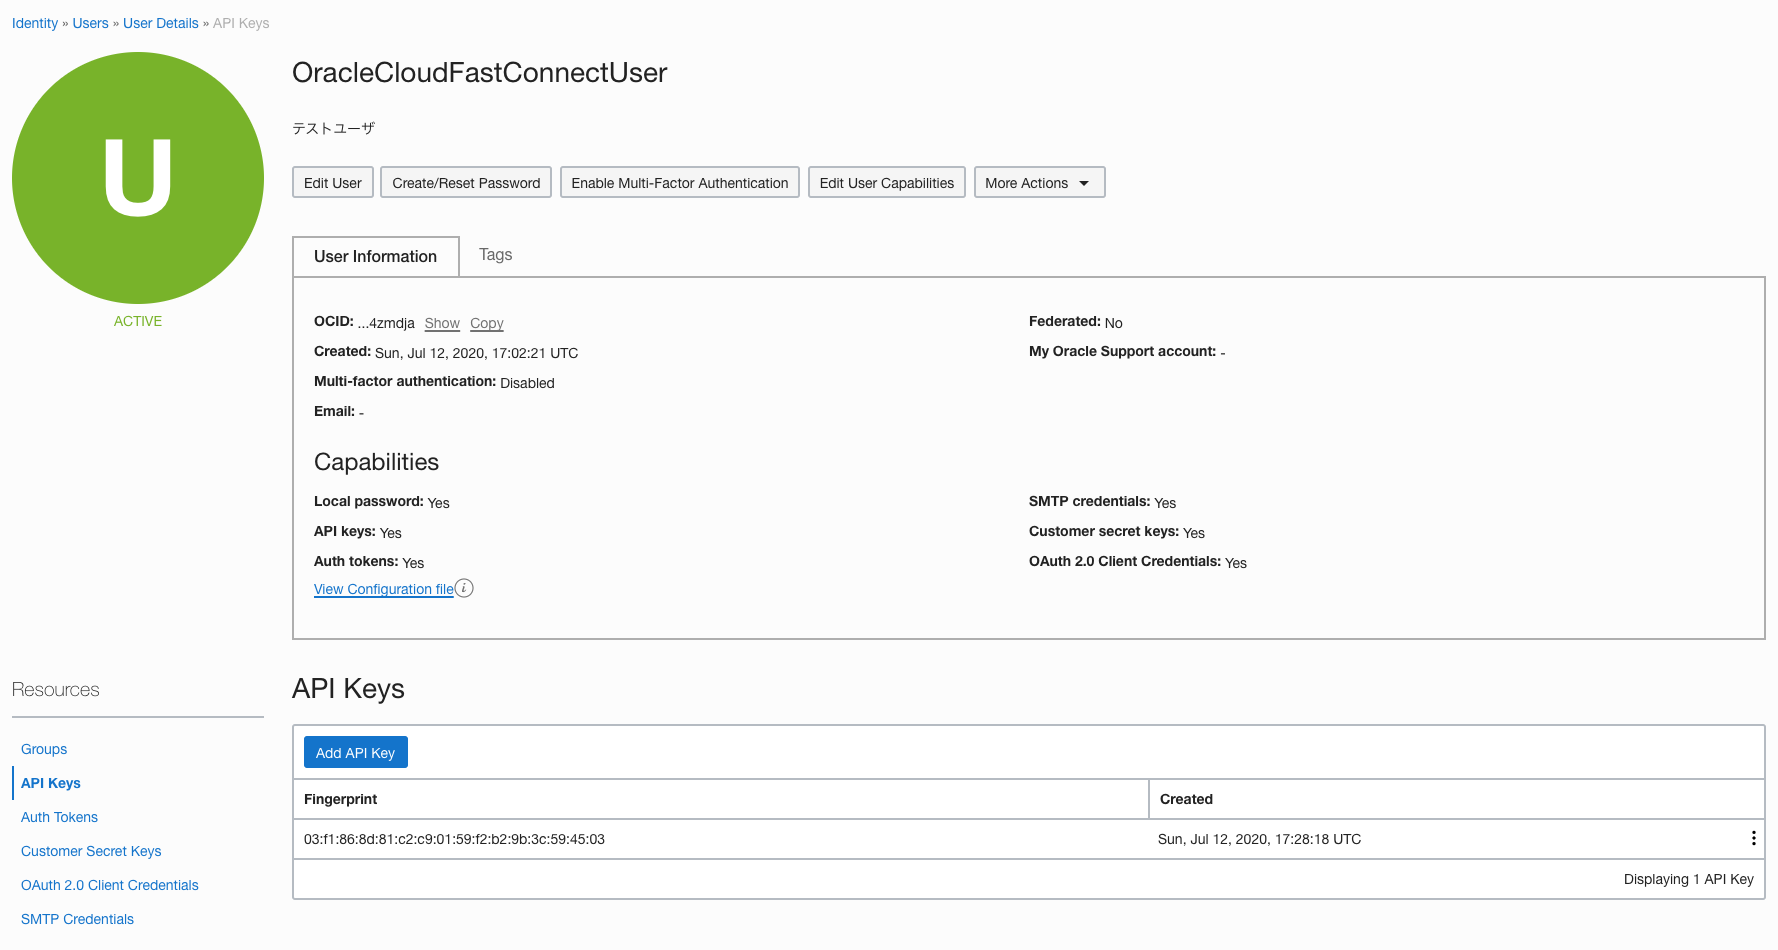

$ oci iam user list --name <oci_user>
{
  "data": [
    {
      "capabilities": {
        "can-use-api-keys": true,
        "can-use-auth-tokens": true,
        "can-use-console-password": true,
        "can-use-customer-secret-keys": true,
        "can-use-o-auth2-client-credentials": true,
        "can-use-smtp-credentials": true
      },
      "compartment-id": "ocid1.tenancy.oc1......
      "defined-tags": {
        "Oracle-Tags": {
          "CreatedBy": "ocid1.saml2idp.oc1.....
          "CreatedOn": "2020-02-12T01:16:43.685Z"
        }
      },
      "description": ""
      "email": "XXXX@riken.jp",
      "email-verified": true,
      "external-identifier": null,
      "freeform-tags": {},
      "id": "ocid1.user.oc1.......
      "identity-provider-id": null,
      "inactive-status": null,
      "is-mfa-activated": false,
      "last-successful-login-time": "2021-03-16T00:07:01.567000+00:00",
      "lifecycle-state": "ACTIVE",
      "name": "<oci_user>",
      "previous-successful-login-time": null,
      "time-created": "2020-02-12T01:16:43.808000+00:00"
    }
  ]
}
$
Create Instance and login with OCI Command
$ oci iam compartment list
{
  "data": [
    {
      "compartment-id": "ocid1.tenancy.oc1.....
      <snip>
    },
{
  "compartment-id": "ocid1.tenancy.oc1.....
  "defined-tags": {
             <snip>
  },
  "description": ""
  "freeform-tags": {},
  "id": "ocid1.compartment.oc1....            <- Compartment OCID
  <snip>
  "name": "<COMPARTMENT_NAME>",               <- Compartment Name
  <snip>
},
$ oci compute image list -c <compartment-id>
 <snip>
    {
      "agent-features": null,
      "base-image-id": null,
      "compartment-id": null,
      "create-image-allowed": true,
      "defined-tags": {},
      "display-name": "Oracle-Linux-8.3-2020.12.17-0",
      "freeform-tags": {},
      "id": "ocid1.image.oc1.ap-tokyo-1.aaaaaaaakpfqgimyvpzw6xbdvtqd2cp7sxianqx5azyaqfsmjxdjy6pudloq",
      "launch-mode": "NATIVE",
      "launch-options": {
        "boot-volume-type": "PARAVIRTUALIZED",
        "firmware": "UEFI_64",
        "is-consistent-volume-naming-enabled": true,
        "is-pv-encryption-in-transit-enabled": true,
        "network-type": "PARAVIRTUALIZED",
        "remote-data-volume-type": "PARAVIRTUALIZED"
      },
      "lifecycle-state": "AVAILABLE",
      "operating-system": "Oracle Linux",
      "operating-system-version": "8",
      "size-in-mbs": 47694,
      "time-created": "2020-12-20T20:29:22.687000+00:00"
    },
$  oci compute shape list -c <compartment-id>
<snip>
    {
      "gpu-description": null,
      "gpus": 0,
      "local-disk-description": null,
      "local-disks": 0,
      "local-disks-total-size-in-gbs": null,
      "max-vnic-attachment-options": null,
      "max-vnic-attachments": 2,
      "memory-in-gbs": 15.0,
      "memory-options": null,
      "networking-bandwidth-in-gbps": 1.0,
      "networking-bandwidth-options": null,
      "ocpu-options": null,
      "ocpus": 1.0,
      "processor-description": "2.0 GHz Intel...",
      "shape": "VM.Standard2.1"
    },
$ oci network subnet list -c <compartment-id>
{
  "data": [
    {
      <snip>
      "cidr-block": "172.30.1.0/26",              <- CIDR Block
      "compartment-id": "ocid1.compartment.oc1....
      <snip>
      },
      "display-name": "OracleCloudFastConnectServiceSubnet", <- Subnet
      <snip>
      "id": "ocid1.subnet.oc1.ap-tokyo-1..... <- OCID
      <snip>
    }
  ]
}
$ oci iam availability-domain list
{
  "data": [
    {
      "compartment-id": "ocid1.tenancy.oc1....
      "id": "ocid1.availabilitydomain.oc1. .....
      "name": "jbxI:AP-TOKYO-1-AD-1"
    }
  ]
}
$ ssh-keygen
$ oci compute instance launch  \
  --availability-domain "<availability_domain_name ex: jbxI:AP-TOKYO-1-AD-1>"  \
  -c <compartment_id>                                         \
  --shape "<shape name ex:VM.Standard2.1>"                    \
  --display-name "<instance_display_name ex: test-instance>"  \
  --image-id <image_id ex: ocid1.image.oc1.ap-tokyo-1.aaaaaaaakpfqgimyvpzw6xbdvtqd2cp7sxianqx5azyaqfsmjxdjy6pudloq>  \
  --ssh-authorized-keys-file ~/.ssh/id_rsa.pub                \
  --subnet-id  <subnet_id>
{
     "data": {
       "agent-config": {
         "are-all-plugins-disabled": false,
         "is-management-disabled": false,
         "is-monitoring-disabled": false,
         "plugins-config": null
       },
       "availability-config": {
         "recovery-action": "RESTORE_INSTANCE"
       },
       "availability-domain": "jbxI:AP-TOKYO-1-AD-1",
 <snip>
     "display-name": "test_instance",
     "extended-metadata": {},
     "freeform-tags": {},
     "id": "ocid1.instance.oc1.ap-tokyo-1....."
     "image-id": "ocid1.image.oc1.ap-tokyo-1.aaaaaaaakpfqgimyvpzw6xbdvtqd2cp7sxianqx5azyaqfsmjxdjy6pudloq",
     "instance-options": {
       "are-legacy-imds-endpoints-disabled": false
     },
 <snip>
Access for instance
$ oci compute instance list -c <compartment-id>
<snip>
      "display-name": "test_instance",
      "extended-metadata": {},
      "freeform-tags": {},
      "id": "ocid1.instance.oc1.ap-tokyo-1.,,,,,"  <- OCID of Instance
      "image-id": "ocid1.image.oc1.ap-tokyo-1.aaaaaaaakpfqgimyvpzw6xbdvtqd2cp7sxianqx5azyaqfsmjxdjy6pudloq",
      "instance-options": {
        "are-legacy-imds-endpoints-disabled": false
      },
<snip>
$ oci compute instance get --instance-id ocid1.instance.oc1.ap-tokyo-1..., 2>/dev/null | grep life
"lifecycle-state": "RUNNING",
$ oci compute instance list-vnics --instance-id ocid1.instance.oc1.ap-tokyo-1.... 2>/dev/null | grep ip
  "private-ip": "172.30.1.4",
  "public-ip": null,
  "skip-source-dest-check": false,
$ ssh -i ~/.ssh/key opc@172.30.1.4
Delete to instance with OCI Command
$ oci compute instance terminate --instance-id ocid1.instance.oc1.ap-tokyo-1....