2.4. Confirm - Object Storage
Create a bucket of Object Stoage and check if you can access the object storage from Fugaku and HPCI.
2.4.1. Create bucket
This is the procedure for creating buckets that can be accessed from Fugaku and HPCI via FastConnect.
This procedure uses the normal default object storage, but if you want to use archive storage, etc., please change the settings accordingly.
Select Object Storage from the Menue
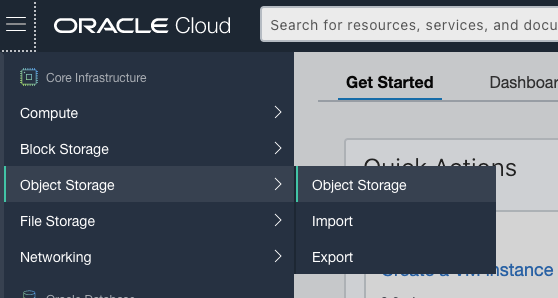
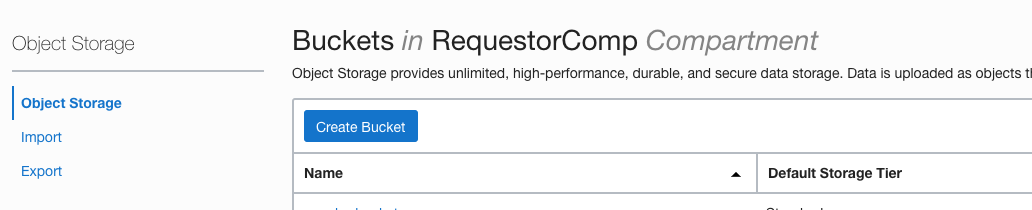
Select “Bucket Create”
In this example, the compartment name is “RequestorComp”.
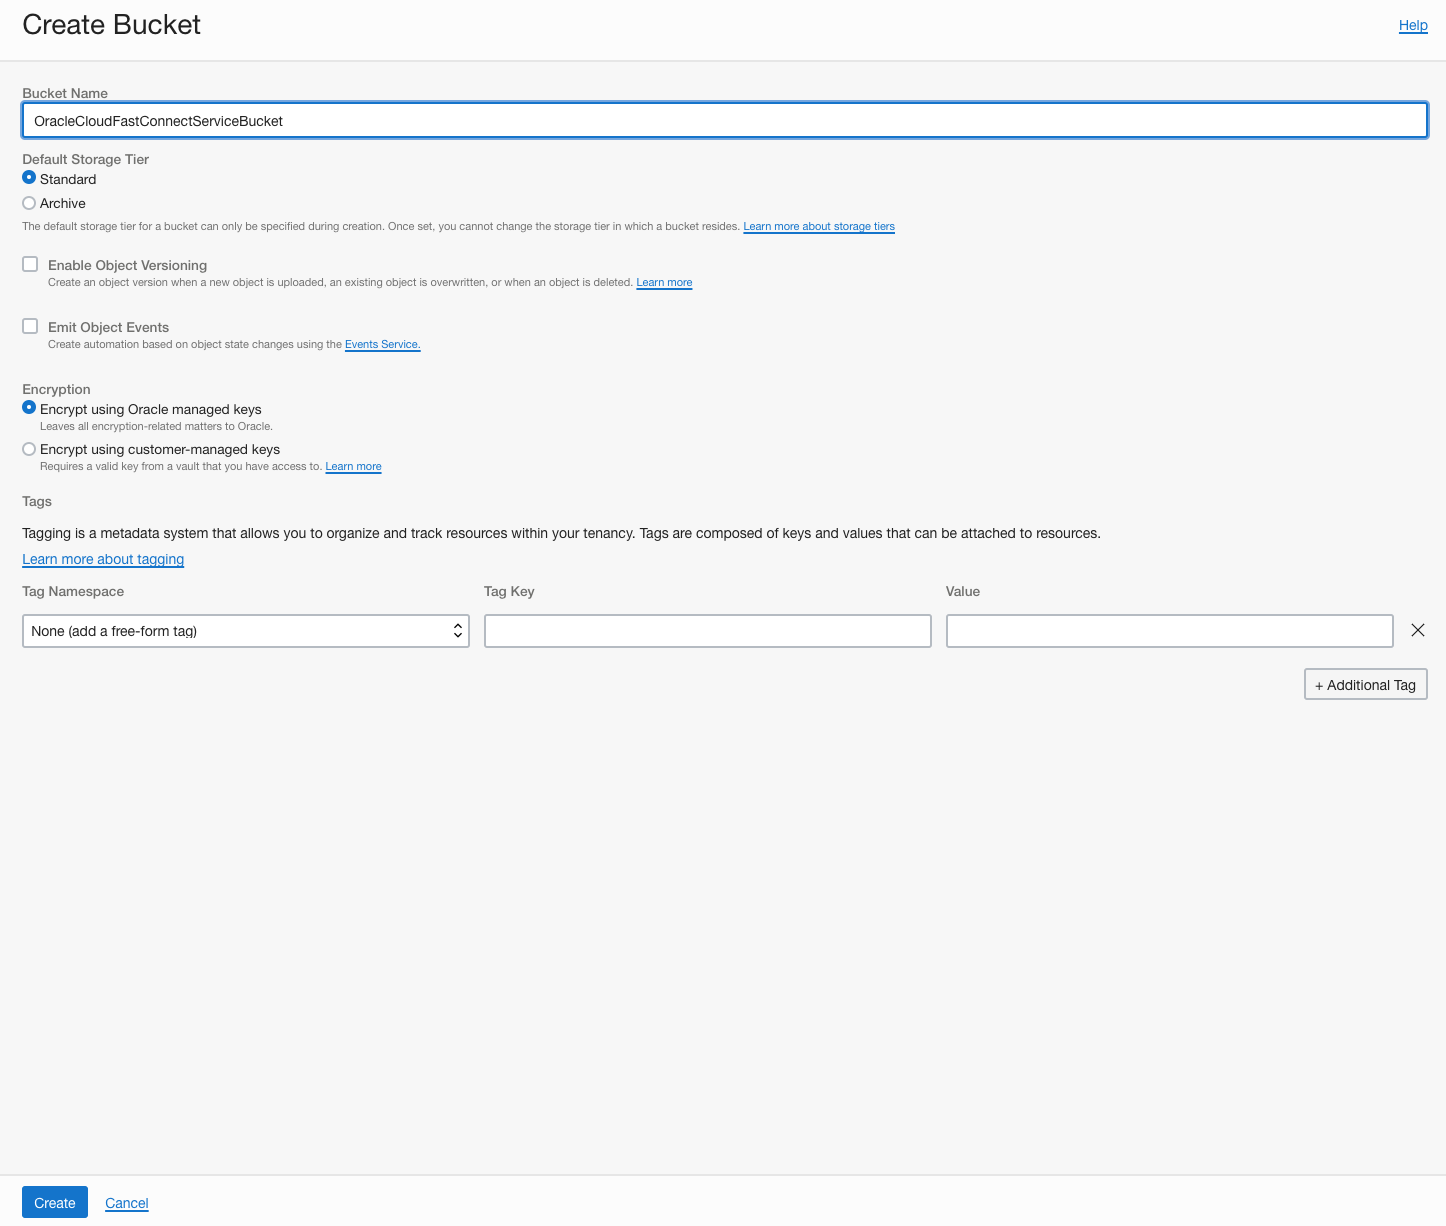
Create Bucket
In this example, the Bucket name is “OracleCloudFastConnectServiceBucket”/
This document uses the storage tier as standard. If you want to use archive storage, please select archive. Please also enable any necessary features, such as encryption or event output.
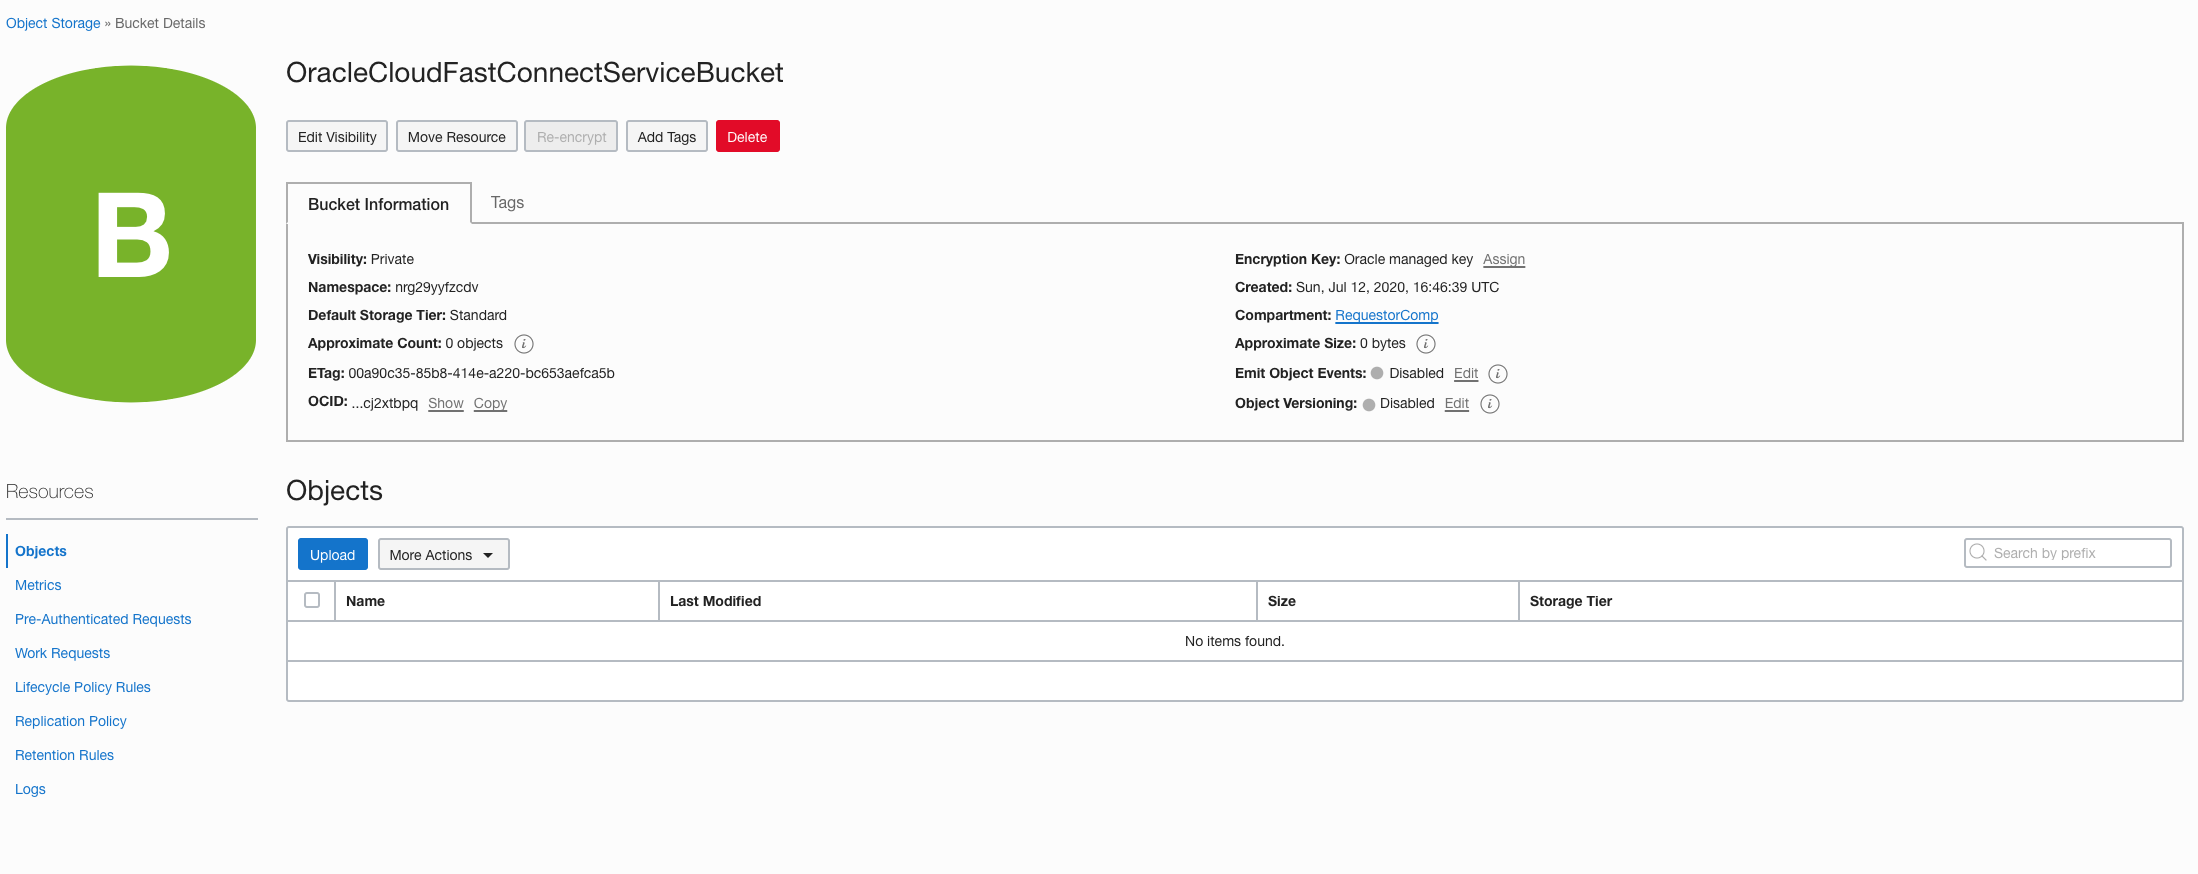
Confirm Bucket created

Get the OCID of Bucket
2.4.2. Check I/O to bucket with OCI Command
Get the OCID of User
Select “User” from the Menu
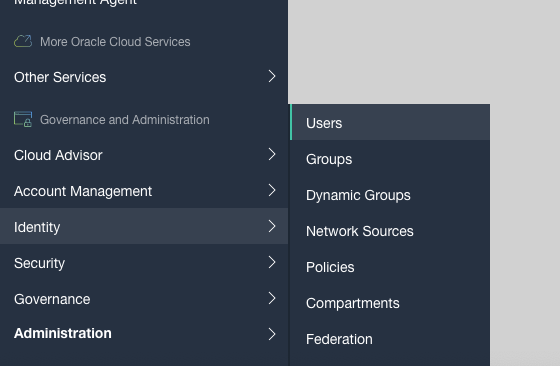
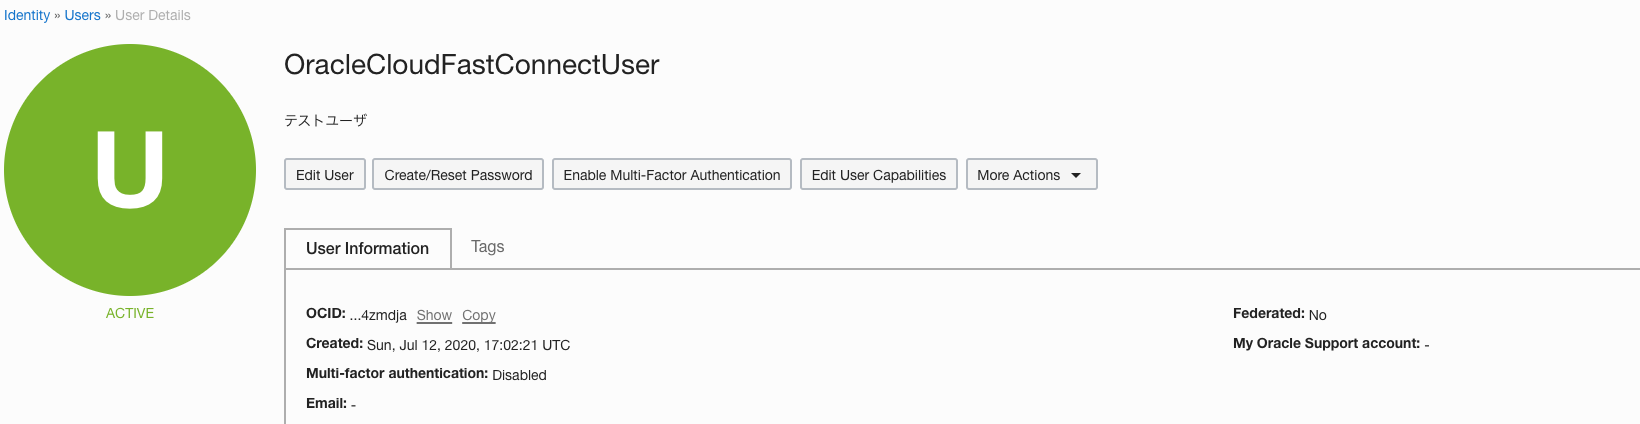
Select username for data transfer
In this example, username is “OracleCloudFastConnectUser”.

Get the OCID of User
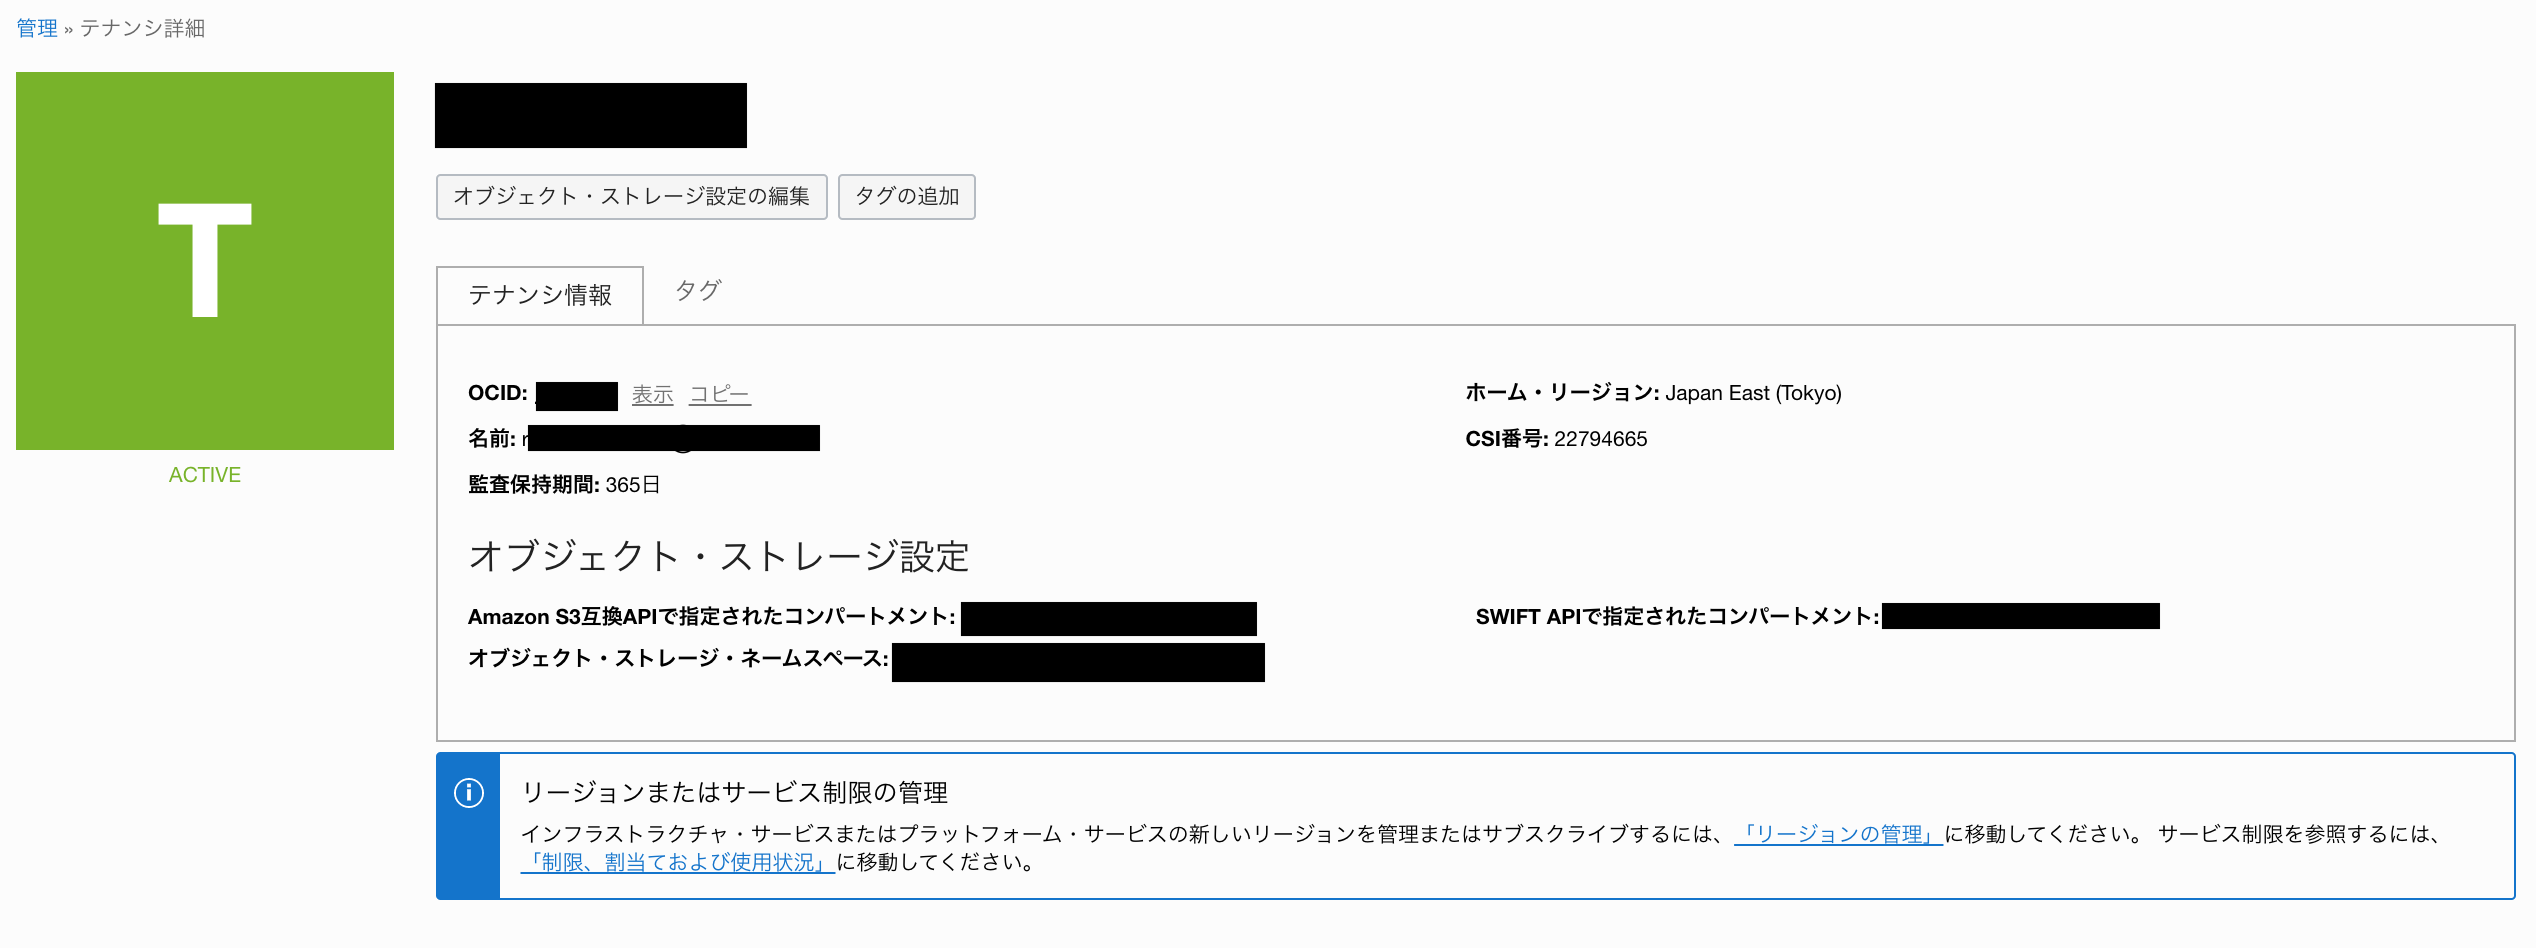
Get the OCID of Tenant
Select “Tenant details” from the Menu
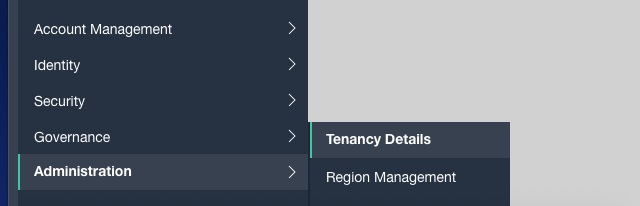
Get the OCID of Tenant
OCI Commnand configuration
The OCI commands can be downloaded from
The detailed use of OCI commands is beyond the scope of this document. See, for example, the following
Login for Fugaku Login Node or R-CCS Login Node
$ ssh <hostname>
Configuration OCI Command
You can create a configuration file for the OCI command with the following commandPlease login to the WebUI to get the OCID of the user or tenant.$ oci setup config Enter a location for your config [/home/<user>/.oci/config]: - Specify the path to the config file. If you do not enter anything, ~/.oci/config will be created. Enter a user OCID: ocid1.user.oc1.... - Please enter the OCID of your own OCI user account, you will need to obtain this by logging into the WebUI. Enter a tenancy OCID: ocid1.tenancy.oc1..aaaaaaaalycfhttkn5rxeu44yxkrmmhwfsj3siqyxjvld336inu5grvy7kka - Please provide the OCID of your tenant, you will need to obtain this by logging into the WebUI. Enter a region by index or name(e.g. 1: ap-chiyoda-1, 2: ap-chuncheon-1, 3: ap-hyderabad-1, 4: ap-melbourne-1, 5: ap-mumbai-1, 6: ap-osaka-1, 7: ap-seoul-1, 8: ap-sydney-1, 9: ap-tokyo-1, 10: ca-montreal-1, <snip> 26: us-gov-phoenix-1, 27: us-langley-1, 28: us-luke-1, 29: us-phoenix-1, 30: us-sanjose-1): 9 - Specify the region; if you are using FastConnect, specify the Tokyo region (ap-tokyo-1). Do you want to generate a new API Signing RSA key pair? (If you decline you will be asked to supply the path to an existing key.) [Y/n]: Y - Automatically generate an RSA key for tenant access. In this case we have specified "Y" to create it. Enter a directory for your keys to be created [/home/<user>/.oci]: - Enter a directory for your keys to be created[/home/<user>/.oci] Enter a name for your key [oci_api_key]: - Enter the directory path where you want to store your RSA keys. If you do not enter anything, ~/.oci/config will be selected. Public key written to: /home/<user>/.oci/oci_api_key_public.pem - Enter the name of your RSA key. In this example, the default (no entry) is oci_api_key. Enter a passphrase for your private key (empty for no passphrase): Repeat for confirmation: - Please enter the password for your RSA key. Private key written to: /home/<user>/.oci/oci_api_key.pem Fingerprint: a0:02:18:ad:5d:a5:67:40:b5:1a:a0:85:b0:b6:fd:60 Do you want to write your passphrase to the config file? (if not, you will need to supply it as an argument to the CLI) [y/N]: y - If you specify "y", the passphrase of the RSA key will be included in the configuration file. * Please note that the configuration file will contain the password in plain text. Config written to /home/<user>/.oci/config
Confirm OCI API Public Key
$ cat ~/.oci/oci_api_key_public.pem
Linking an OCI API Key to the User
Select “User” from the Menu
Select username for data transfer
Select “API Key” in User Page
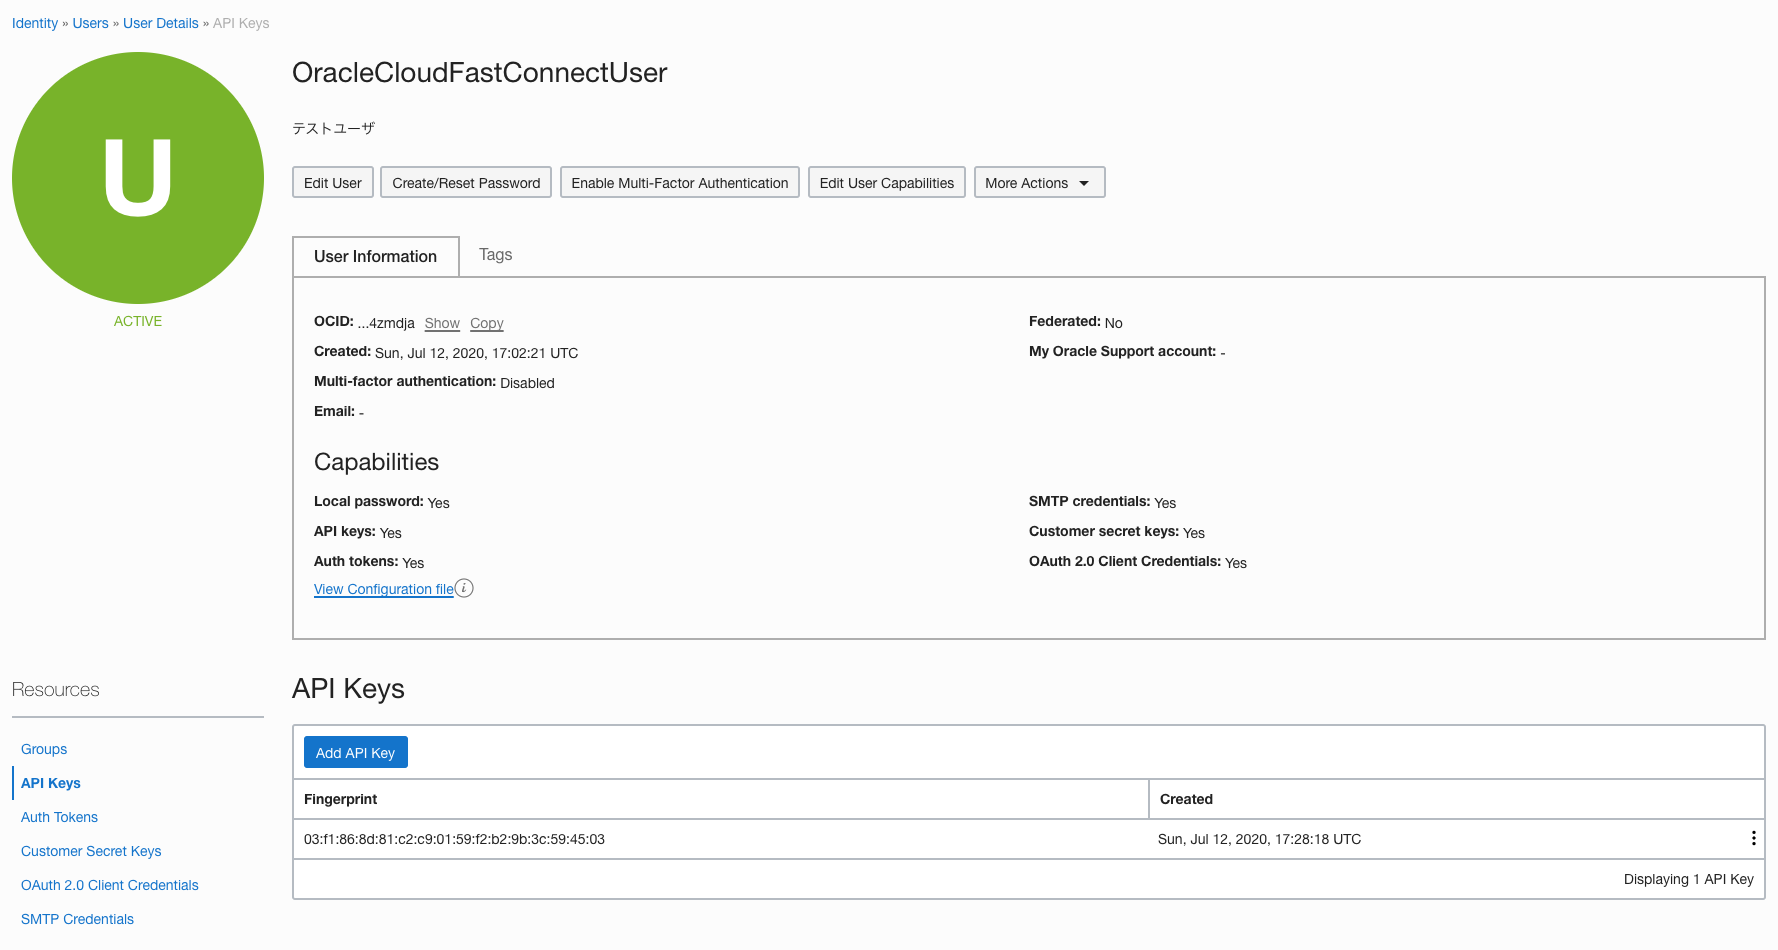
Linking an OCI API Key
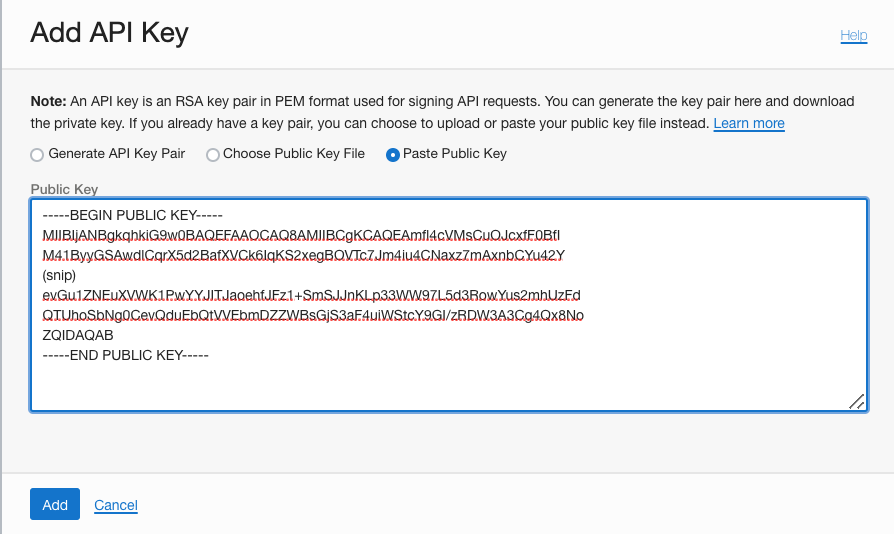
Confirm

Write data to the Bucket
Write Command

  $ oci os object bulk-upload -bn  <Bucket Name>  --src-dir <Source Directory>
Example: Write "~/src_testdir" directory and files to "OracleCloudFastConnectServiceBucket" Bucket.

  $ oci os object bulk-upload -bn OracleCloudFastConnectServiceBucket --src-dir ~/src_testdir
Read data from the Bucket
Read Command

  $ oci os object bulk-download -bn <Bucket Name> --download-dir <Dest Directory>
Example: Read data from the "OracleCloudFastConnectServiceBucket" Bucket for "~/dest_testdir" direcrory.

  $ oci os object bulk-upload -bn OracleCloudFastConnectServiceBucket --src-dir ~/dest_testdir